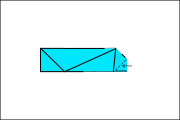
Triangle (60 degrees)
Probably the most important variation to learn because triangles exist in most polyhedra. Also, many other variations fold similarly.
Prerequisite: A completed base Penultimate unit.
Step 1. Using the top flap only, fold the top edge of the little triangle to the crease sitting at 45 degrees.
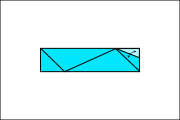
Step 2. Fold the newly formed crease in Step 1 to the crease sitting at 45 degrees. Keep the fold in place.
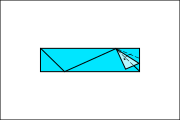
Step 3. Fold the newly formed crease in Step 2 to the long diagonal crease in the middle of the piece.
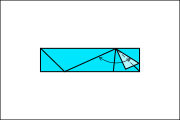
Step 4. You now have a 60 degree angle. Congrats! The issue is that the flap is currently too big for insertion. You can either cut along the red lines drawn in the picture, or fold along these lines and tuck the extra paper using inside folds—shown in Steps 4a-4c.
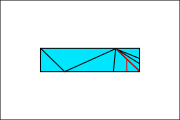
Step 4a. Tuck the top right triangle inside, as shown. Depending on which side of the strip you initially chose, there may be 1 or 2 triangles to tuck.
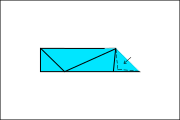
Step 4b. Using only the top flap, fold the bottom right corner towards the foot of the vertical crease. Repeat on the back side for the remaining flaps.
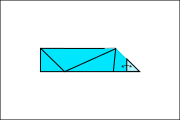
Step 4c. Tuck each of the small triangles created in Step 4b inside, as shown. There may be 2 or 3 of these triangles.